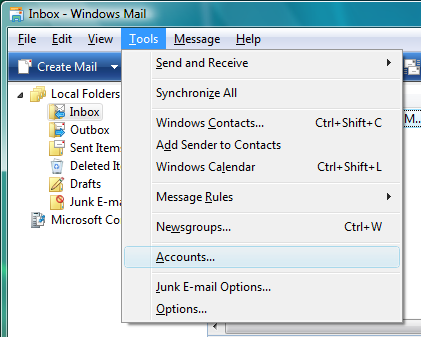
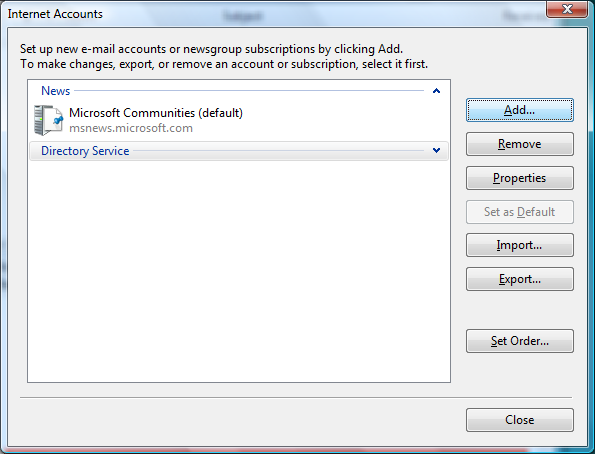
The Internet Accounts window opens.
Toward the top, right corner, click Add.
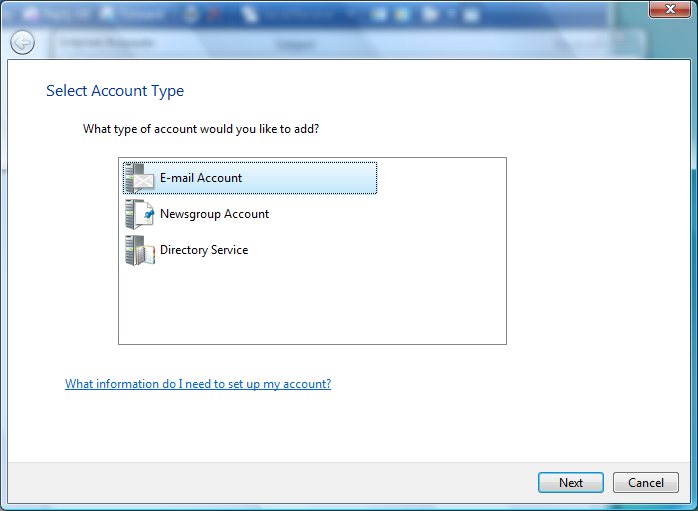
Select E-Mail Account.
Click Next to continue.
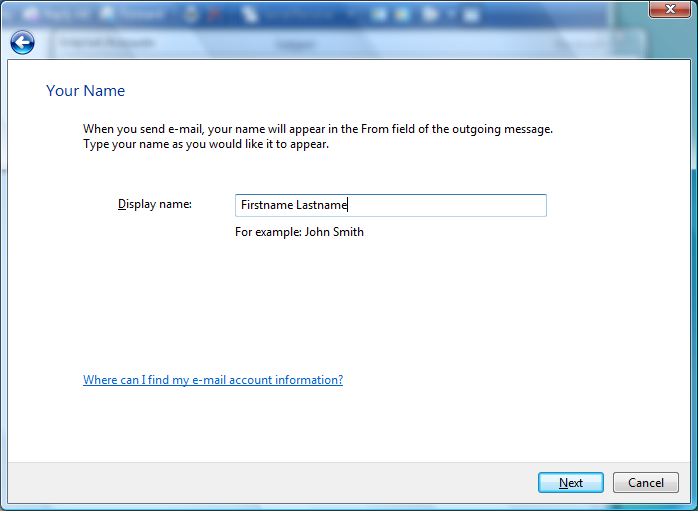
Display name = Enter your name.
Click Next to continue.
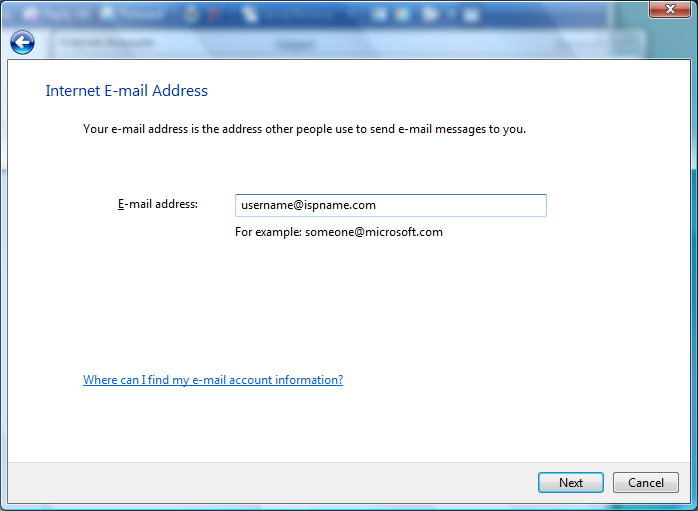
E-mail address = Enter your e-mail address. (username@ispname.com)
Click Next to continue.
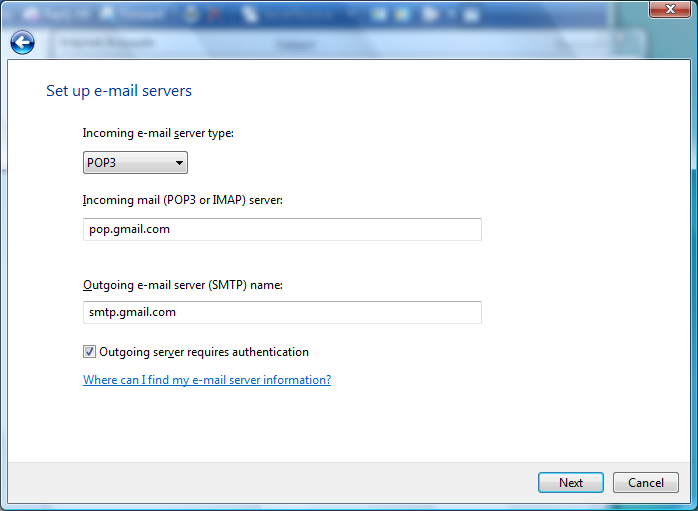
Incoming mail server type = This should be set to POP3 .
Incoming mail (POP3 or IMAP) server: pop.gmail.com
Outgoing (SMTP) server: smtp.gmail.com
Check "Outgoing server requires authintication"
Click Next to continue.
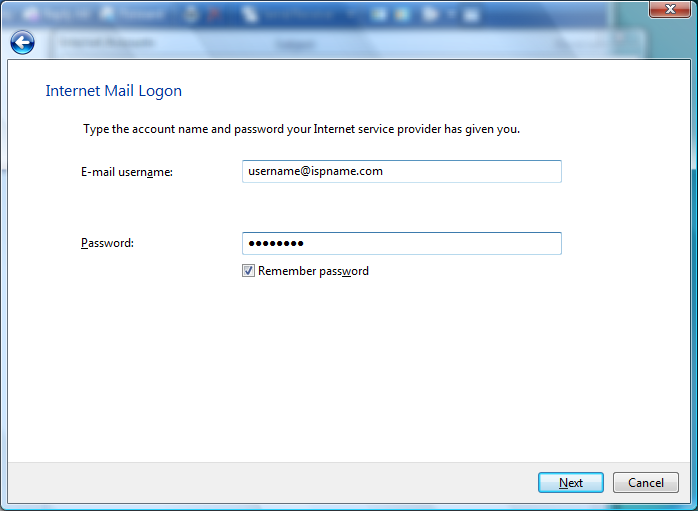
Email user name = Enter your full e-mail address. (username@ispname.com)
Password = Enter the password to your e-mail account.Important: Passwords are case-sensitive. Ensure your Caps Lock is disabled.
Select Remember password.
Important: Do NOT select Log on using 'Secure Password Authentication'.
Click Next to continue.
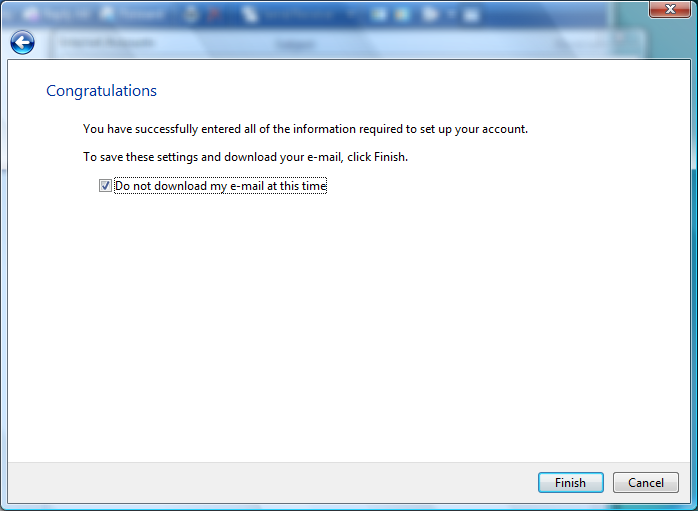
Check "Do not download my e-mail at this time"
Click finish.
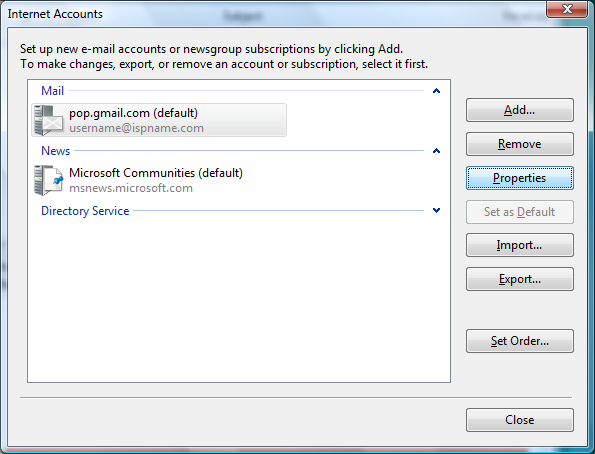
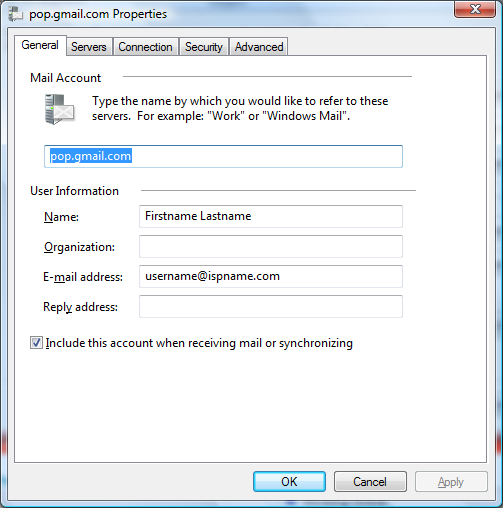
Highlight the account you just created and click Properties
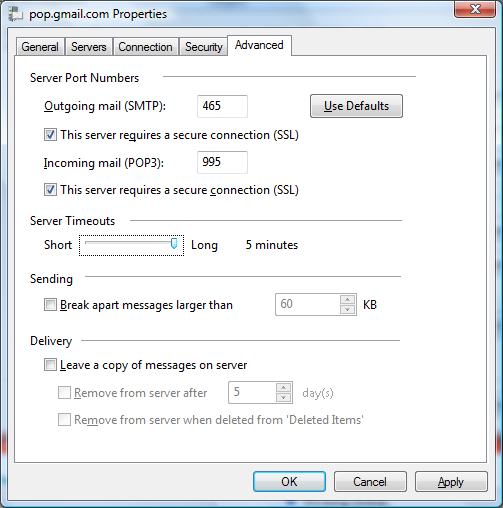
Select the Advanced tab.
Outgoing mai (SMTP): Make sure it is set to 465 and SSL is checked
Incomming mai (POP3): Make sure it is set to 995 and SSL is checked
Server Timeouts: Set all the way to long (5 minutes).
