
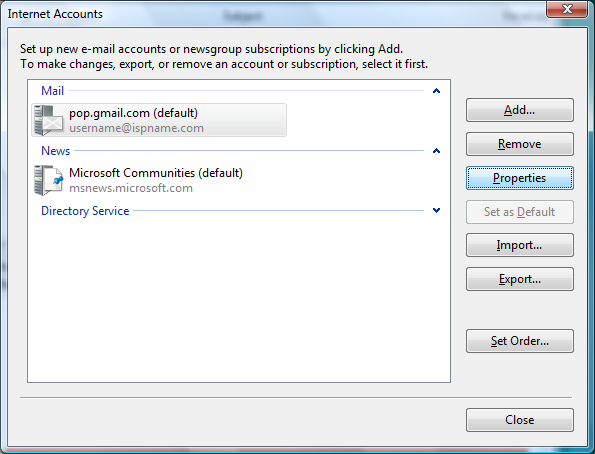
The Internet Accounts window appears.
Highlight the desired account and click Properties.
If you have any extra accounts no longer in use, Remove them.
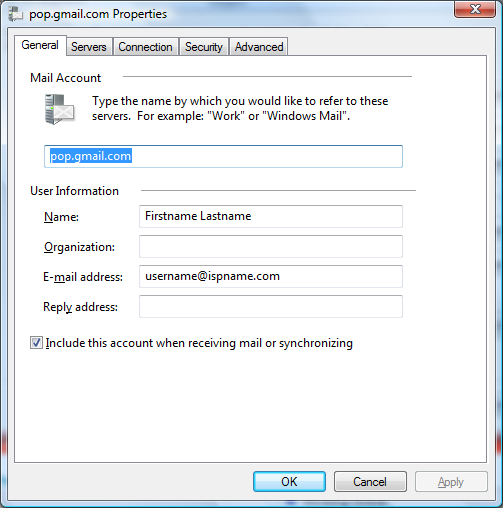
Select the General tab.
Mail Account = You can give the name of the mail account anything you'd like.
User Information:
Name = Enter your name.
E-mail address = Enter your e-mail address. (username@ispname.com)
Important: Ensure Include this account when receiving mail or synchronizing is checked
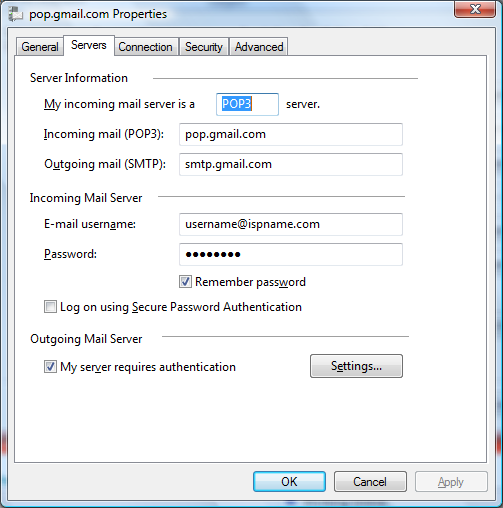
Select the Servers tab.
Server Information:
My incoming mail server is a POP3 server = This should be set to POP3.
Incoming mail (POP3) = The Incoming (POP3) mail server: pop.gmail.com
Outgoing mail (SMTP) = The Outgoing (SMTP) mail server: smtp.gmail.comIncoming Mail Server:
Account name = Enter your full e-mail address. (username@ispname.com)
Password = Enter the password to your e-mail account.Important: Passwords are case-sensitive. Ensure your Caps Lock is disabled.
Select Remember password.
Important: Do NOT select "Log on using Secure Password Authentication".
Outgoing Mail Server:
Towards the bottom, left corner there is a box: My server requires authentication. Check it.
To the right, click the Settings button.
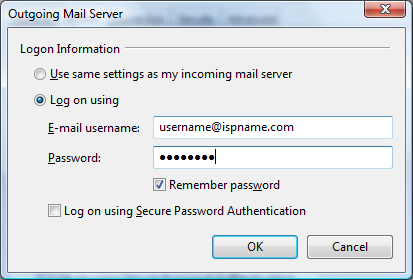
Select Log on using.
Account name = Enter your full e-mail address. (username@ispname.com)
Password = Enter the password to your e-mail account.Important: Passwords are case-sensitive. Ensure your Caps Lock is disabled.
Select Remember password.
Important: do NOT select Log on using 'Secure Password Authentication'.
Click OK
Select the Advanced tab.
Outgoing mai (SMTP): make sure it is set to 465 and SSL is checked
Incomming mai (POP3): make sure it is set to 995 and SSL is checked
Server Timeouts: Set all the way to long (5 minutes)
